My last post was back in June. I was bemoaning the horrible weather, as I always do around that time of year. We're a few days shy of October and it's STILL hot here.
Seriously, is this a joke? Has Yahoo! decided that they're going to see how crazy I can become if they keep reporting these jacked-up weather forecasts? For those of you who have never experienced life in the desert, you must know that hearing the air conditioner running only DAYS before October is stomach-churning.
Okay, I feel better now. I just really need for you all who are outside of the Valley of Flames to understand just how ridiculous it is here.
So, this post is all about one of the many joys I am lucky enough to have in my life. I have many, but this is all about the tortilla soup. Some of you know that when I was first introduced to this soup by my brother and sister-in-law, via our friend Sarah, I made it at LEAST once a month, but more like every few weeks. Yes, it's just THAT amazing! And it's not like there's a lot to it that's bad for you! Just try to steer clear of additives (salt, cheese, sour cream, chips....but I don't).
The funny thing about this soup is that it SHOULD be called Telephone Tortilla Soup. Here's why. Sarah got the recipe from her mom (is that right, Sarah?). Sarah gave it to Tim and Julie. They told me the recipe, verbally, and I made it, not calling them to make sure I had everything correct. When I described to Sarah what I had done, the recipe was quite a bit different than hers. That gave us the idea of possibly having a Telephone Tortilla Soup exchange. Fun, right? I'd do it! Heck, I can do it right now because the recipe I'm about to give you will make enough for you to feed four people and have leftovers for a few nights. Here we go (pictures first, recipe at the bottom).
Here are the ingredients:
Got that? No? Don't worry, I took LOTS of pictures.
Let's get started. You'll need a stock pot and a fry pan.
Step one: Put the stock pot on the stove and fill it with the canned items and chicken broth.
Chop up the cilantro:
Add the cilantro to the pot:
Turn the burner on low to medium, just to start warming up the contents of the stock pot.
Next, bust out the fry pan and add these two items:
That's about two tbsp. minced garlic (I have a BIG jar of it I keep in the fridge for just such an emergency) and about a tbsp. of my beloved Country Crock. Feel free to omit the buttery goodness if you can sauté without it. I, for one, cannot.
Next, get ready to cry! Chop the onion.
I usually just peel the outer skin, chop the onion in half and then start making nice, thin slices.
Add the onion to the fry pan with about a half tbsp of cumin:
Saute that stuff up until the onions are translucent. Personally, I like to wait until the onions start to brown on the edges a bit. But, it matters not. This soup is all about preference, peeps!
See the brown edges? Yum!
Add the mixture to the soup. Is this still easy or are you feeling it's too involved? I know, it seems involved, but it's not. Trust me. The end result is TOTALLY worth it.
Next, let's throw in the corn just for fun:
Oooooh, pretty! At this point, you'll see lots of fun and festive colors popping up in your soup.
Crank up the heat to about medium. Let's get this soup rolling.
I really do wish this picture could do justice to the way this soup was rolling.
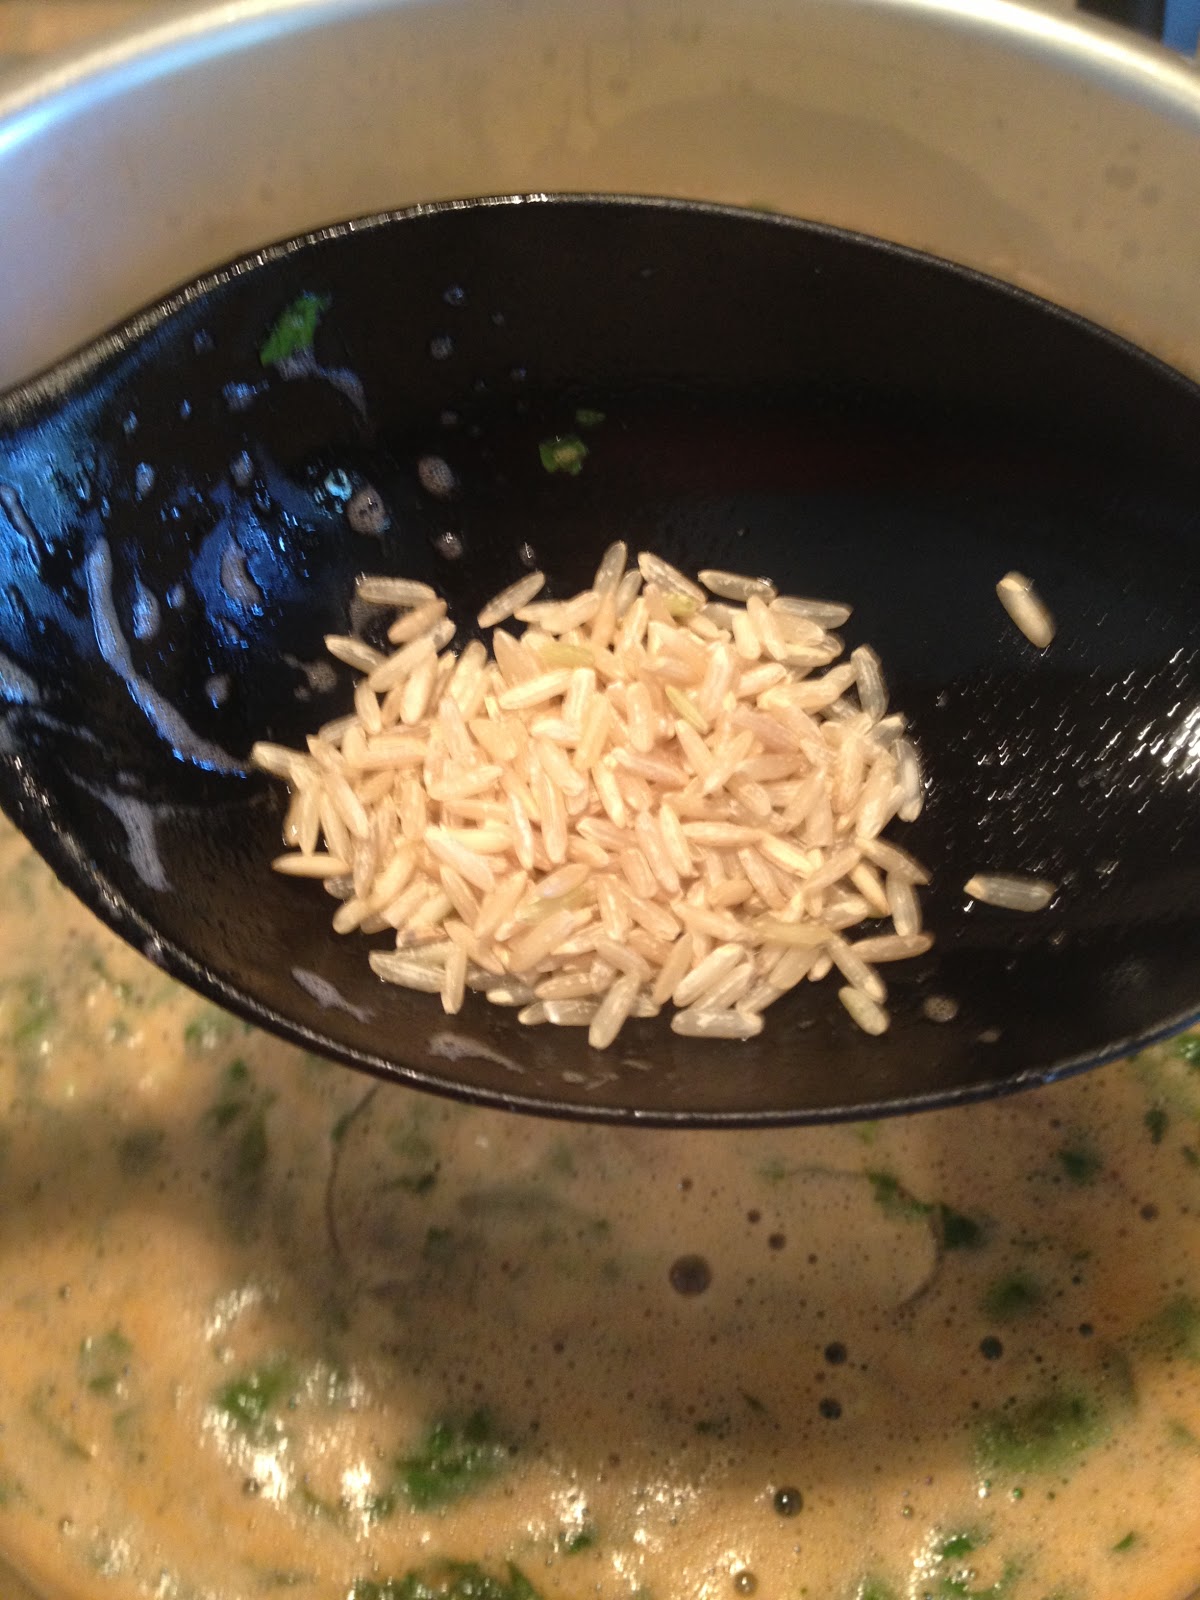
Now, it's time to throw in the rice. BROWN rice, people! NOT white rice. I don't have anything against white rice, but just trust me. Or ask my sister-in-law, Tracy. I told her to put in two handfuls of rice. That works great when it's brown, but white? Nope. We both learned a great lesson that day. So, throw in two handfuls of brown rice and stir:
Keep the boil rolling for about five minutes. Then, turn down the heat to low and cover it. Let it sit. I don't know if 30 minutes is enough, but I know that it can go three hours on low if need be.
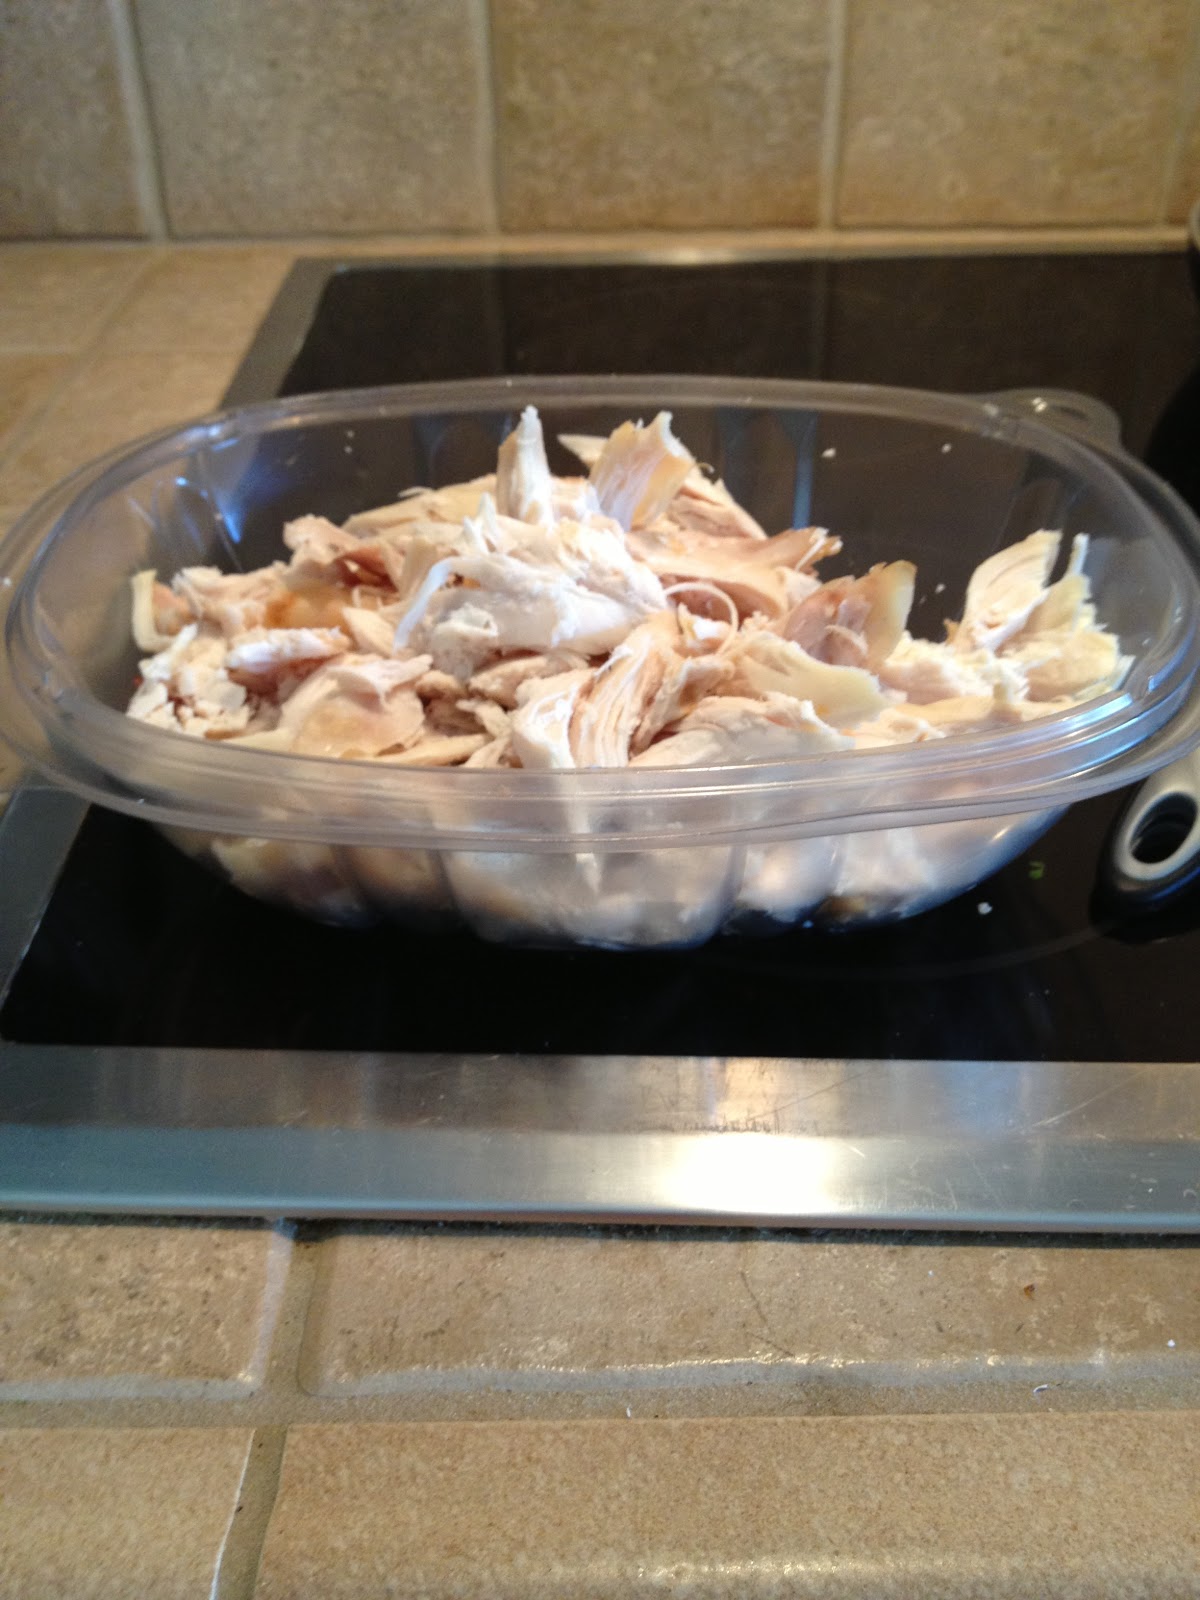
About 30 minutes before you're ready to serve it up, add the chicken. Now, for ease, I usually buy a rotisserie chicken, pick it clean and stick it in the fridge till I'm ready to dump it in.
Yes, that seemed like WAY too many steps to keep you interested. I'm sorry! But, truly, once you make it JUST ONCE, you'll see that I just love to post pictures. It's really easy, I promise!
So, now, you're ready to serve your soup! "But Leanne, what garnishes do you use?" Oh, I'm so glad you asked!
I like lots of different things, but my standby toppings are these lovely items:
Some people like to use fresh cut tomatoes, shredded cheese, raw onions...you name it! The best thing about this soup is that it's so versatile.
Soooo delicious! Hopefully, if you've already made this soup, you'll be so kind as to leave your variations in the comments section. I love to hear how much this soup evolves. I've also substituted the chicken for fried ground beef and added some taco seasoning and a can of enchilada sauce to the soup. Taco soup, anyone?
Now here's the recipe:
Start by throwing this into the pot:
2 14 oz. cans black beans
1 14 oz. can diced tomatoes w/ green chiles
1 8 oz. can El Pato (or substitute w/ tomato sauce for less heat)
12 cups chicken broth (that's about 3 of those cardboard containers)
1 bunch cilantro, chopped well
1 lb. bag frozen sweet white corn (or canned, if you prefer...which I do NOT)
Meanwhile, sauté the following in a fry pan and add to the pot:
1 yellow onion
1-2 tbsp. minced garlic
1/2 tbsp. cumin
1/2 tbsp. butter (for sautéing)
Turn up the heat and get the soup to a rolling boil. Add 1/2 cup brown rice, stir and continue to boil for about 5 minutes.
Turn down heat to a simmer and 1 rotisserie chicken, picked clean about 20-30 minutes before serving.
Enjoy!
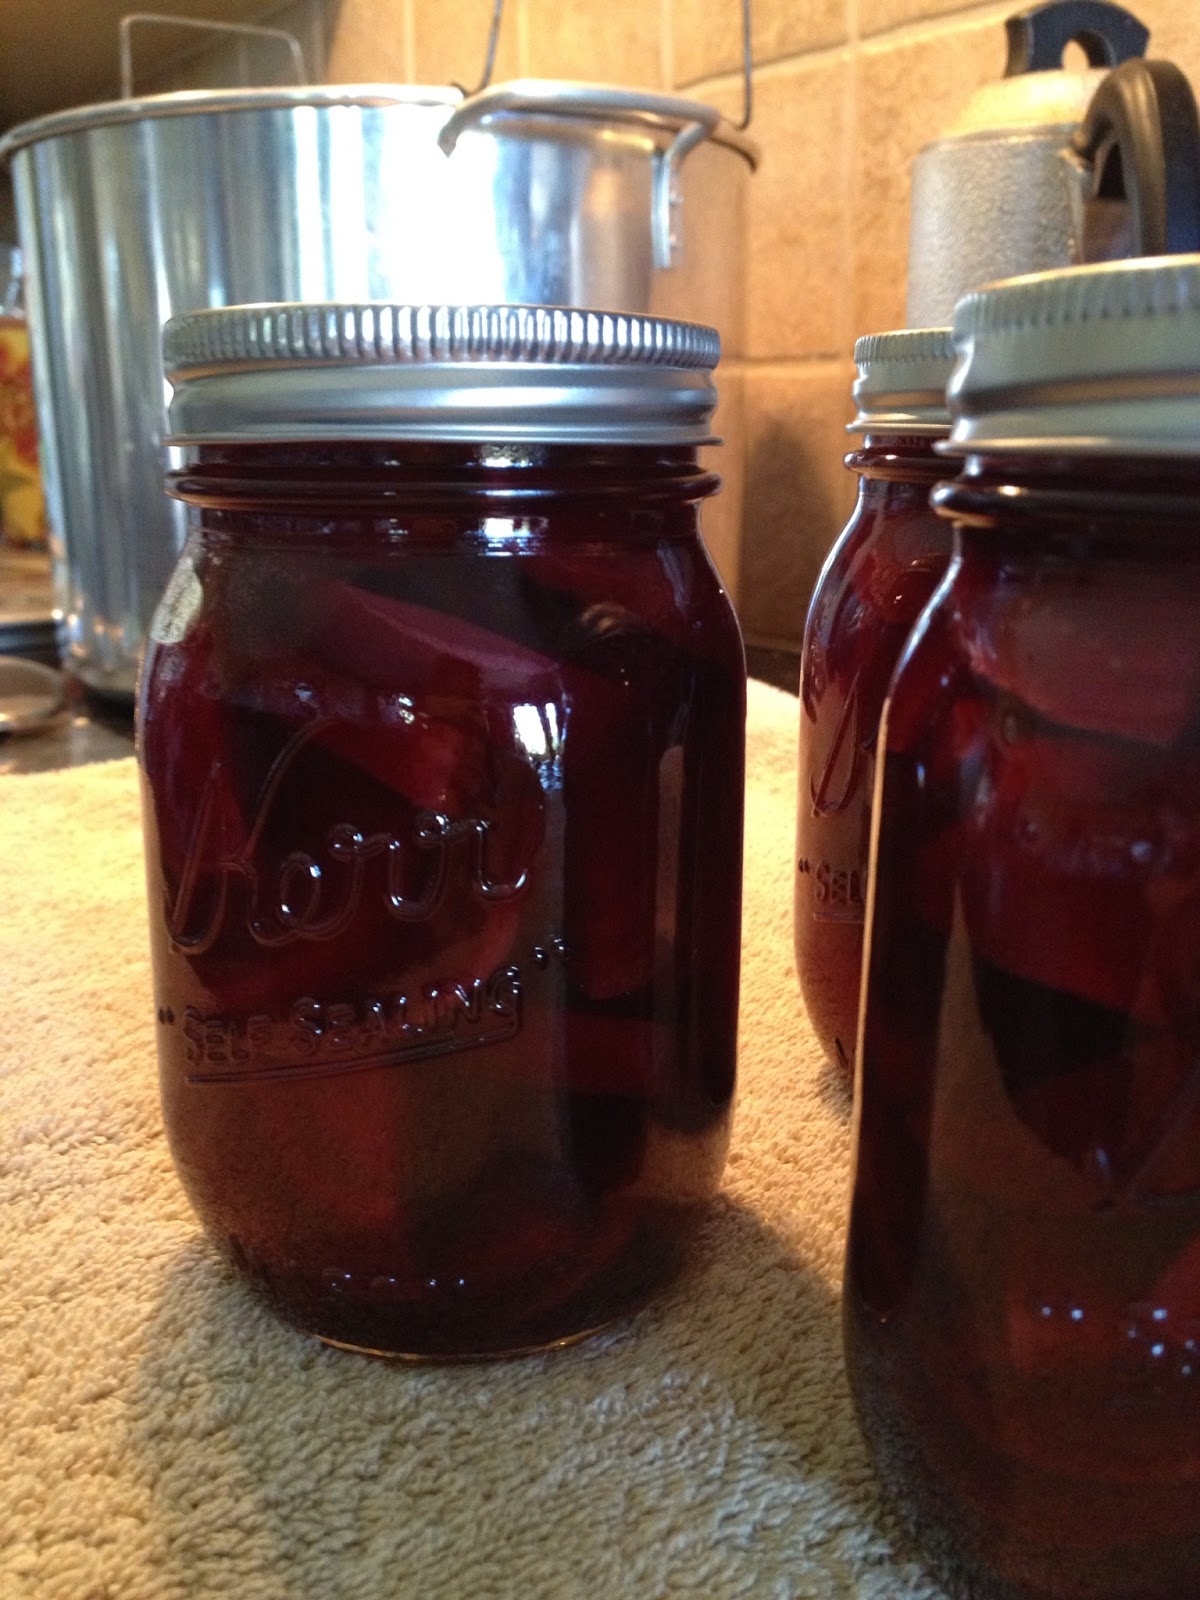
 I want to bring back canning! Canning is in my blood. I somehow feel drawn to it. I feel a need to can things, even if it just means I'm doing it so I can pass out jars of goodies to my friends and family. I'm sure my ancestors a few generations back relied on canning as their staple for winter foods. Both of my sweet grandmothers, Joanie and Margaret, canned like professionals and my dear mom, Joanne, preserves peaches that are better and tastier than any other dessert we could have hoped to be served when we were little.